Inside this Article:
- Why do we need to clean air conditioners?
- Improved Efficiency
- Extended Lifespan
- Health and Comfort
- Preventing Issues and Repairs
- Efficiency and Environmental Impact
- Cost Savings
- Comfort and Convenience
- Compliance and Warranty
- Cleaning a Window Air Conditioner
- Cleaning a Split System Air Conditioner
- Cleaning a Portable Air Conditioner
How to Clean An Air Conditioner
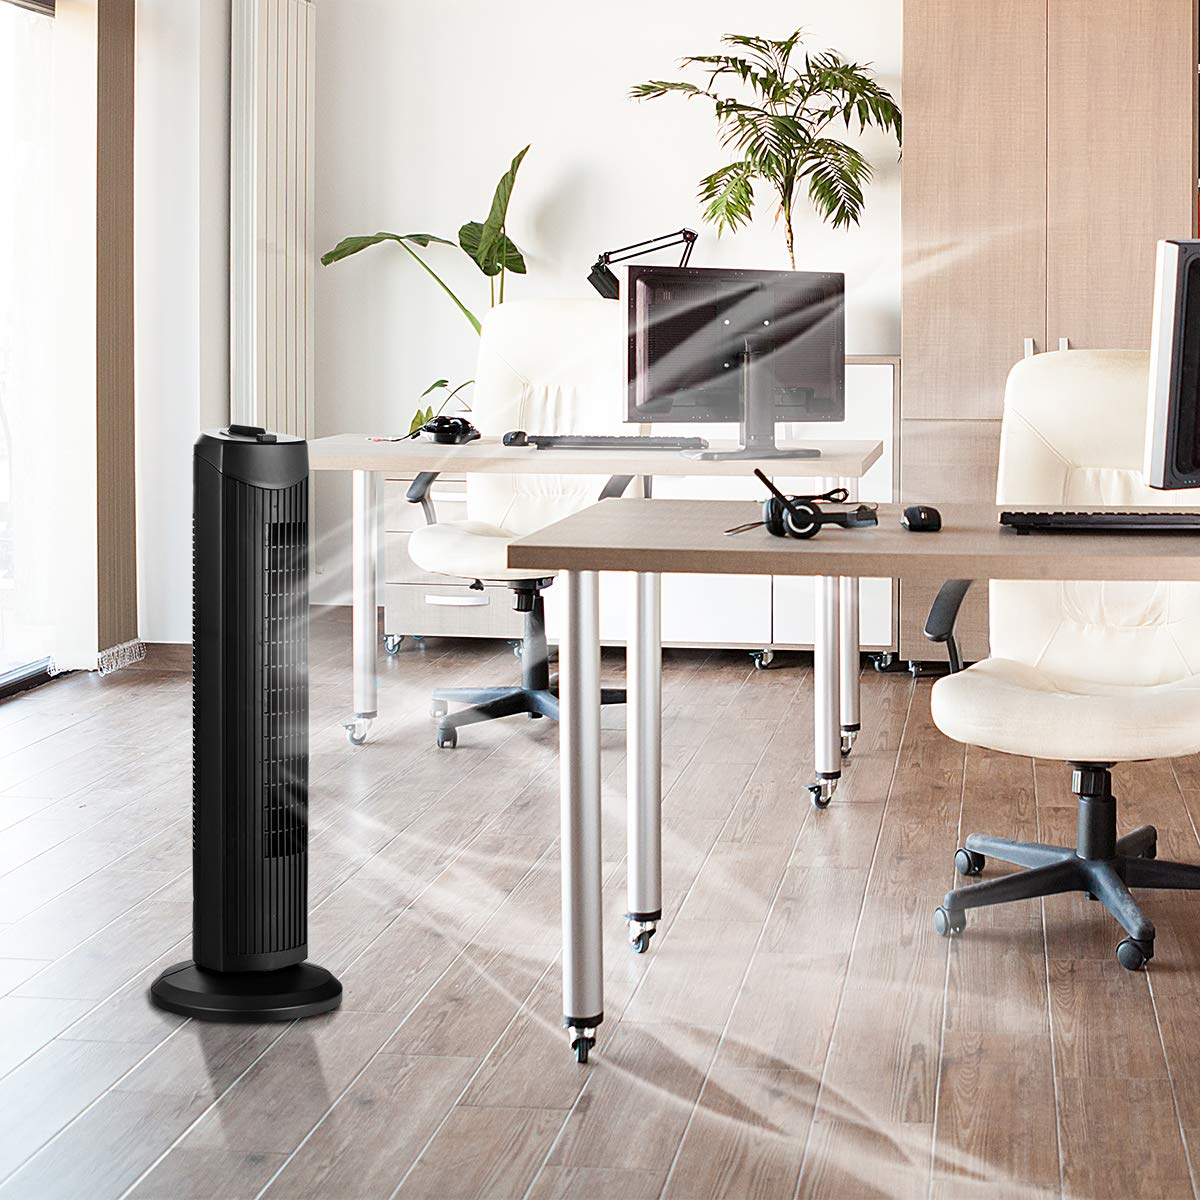
Maintaining cleanliness in your summer appliance brings a host of surprising benefits. Keeping your room clean has many benefits.
It helps it run smoothly and last longer. It also saves money on repairs and uses less energy. Additionally, it helps avoid mold and promotes better air circulation.
However, people often neglect this vital maintenance, which puts your unit at risk of premature failure or operational issues. Cleaning your climate control is a straightforward task that requires only a few tools and materials. Continue reading to learn how and how often to do it.
Cleaning each part of the cooling system well helps it run efficiently and last longer. This guide will teach you how to clean various parts of an air conditioner. It includes window units, split air conditioners, and portable air coolers.

Why do we need to clean air conditioners?
Improved Efficiency
Better Airflow:
- Dust and debris can block the airflow in the unit, causing it to work harder to cool the space. Cleaning the air conditioner filters and coils ensures unobstructed airflow.
Energy Savings:
- A clean air conditioner runs more efficiently, using less energy to cool your home. This can result in lower electricity bills.
Optimal Performance:
- Regular cleaning helps maintain the unit’s performance, ensuring it cools effectively and maintains the desired temperature.
Extended Lifespan
Reduced Wear and Tear:
- Dirt and debris can cause components to wear out faster. Regular cleaning reduces strain on the system, extending the air conditioner's life.
Preventative Maintenance:
- Cleaning your unit regularly helps you find problems like rust, leaks, or damage early. This lets you fix them before they become big issues.
Health and Comfort
Improved Air Quality:
- A dirty air conditioner can circulate dust, allergens, and mold spores throughout your home. Cleaning the unit helps ensure the air you breathe is cleaner and healthier.
Reduced Allergens:
- Cleaning regularly helps reduce allergens and pollutants, which is good for people with allergies or breathing problems.
Consistent Cooling:
- A clean air conditioner provides more consistent and reliable cooling, maintaining a comfortable indoor environment.
Preventing Issues and Repairs
Avoiding System Failures:
- Clogged filters and air conditioner coils can cause the system to overheat or freeze up, leading to breakdowns. Regular cleaning helps prevent these issues.
Lower Repair Costs:
- Preventative maintenance through regular cleaning can reduce the likelihood of costly repairs by keeping the system running smoothly.
Efficiency and Environmental Impact
Reduced Carbon Footprint:
- An efficiently running air conditioning system uses less energy, reducing your overall carbon footprint.
Environmental Responsibility:
- Regular maintenance and cleaning make the unit run better and use less energy, which is good for the environment.
Cost Savings
Lower Energy Bills:
- Efficient operation means the unit uses less power, leading to savings on your energy bills.
Fewer Repairs:
- Regular cleaning can prevent many common issues, reducing the frequency and cost of repairs.
Comfort and Convenience
Reliable Operation:
- Regular cleaning ensures the air conditioner operates reliably, providing consistent comfort during hot weather.
Quiet Operation:
- A well-maintained air conditioner will run quietly compared to one that is dirty and clogged with debris.
Compliance and Warranty
Warranty Compliance:
- Many manufacturers require regular maintenance, including cleaning, to keep the warranty valid. Failing to do so could void your warranty.
Rules:
- Some places have rules for keeping HVAC systems safe and efficient, like following guidelines for energy and safety.
Cleaning a Window Air Conditioner
Materials Needed:
- Screwdriver
- Vacuum cleaner with a brush attachment
- Soft brush or cloth
- Mild detergent or coil cleaner
- Water
- Spray bottle
- Fin comb (optional)
- Can of compressed air (optional)
Steps:
Turn Off and Unplug the Unit:
- Make sure to turn off and unplug the air conditioner before starting the cleaning process.
Remove the Front Cover:
- Use a screwdriver to remove the front cover or grill of the unit.
Clean or Replace the Filter:
Reusable Filters:
- Remove the filter and wash it with warm water and mild detergent. Rinse thoroughly and let it dry completely before reinstalling.
Disposable Filters:
- Replace the filter with a new one if it’s not reusable.
Vacuum the Interior:
- Clean the inside of your appliance using a vacuum cleaner with a brush. This will help remove dust and dirt from areas like the coils and blades.
How to Clean Air Conditioner Coils:
- Mix a solution of mild detergent and water in a spray bottle, or use a commercial coil cleaner.
- Spray the solution onto the coils, making sure to cover all areas.
- Allow the solution to sit for about 5-10 minutes to loosen dirt and grime.
- Gently scrub the coils with a soft brush if necessary to remove stubborn dirt.
- Rinse the coils with water if required by the coil cleaner instructions, ensuring no detergent remains.
Check the Drain Pan and Drain Hole:
- Ensure the drain pan is clean and the drain hole is not clogged. Use a can of compressed air to clear any blockages if necessary.
Clean the Exterior:
- Wipe down the exterior of the unit with a damp cloth.
Reassemble and Test:
- Once everything is clean and dry, reassemble the unit, plug it in, and turn it on to ensure it’s working properly.
Cleaning Tips:
Seasonal Maintenance:
- Clean the unit before and after the cooling season. Remove and store the unit properly if not used during winter.
Seal Gaps:
- Check the seal around the unit to ensure there are no gaps that can let in warm air or cause leaks.
Level Installation:
- Ensure the unit is level when installed to allow proper drainage of condensation.
Clean the Surroundings:
- Keep the area around the window unit free from debris and obstructions to ensure good airflow.
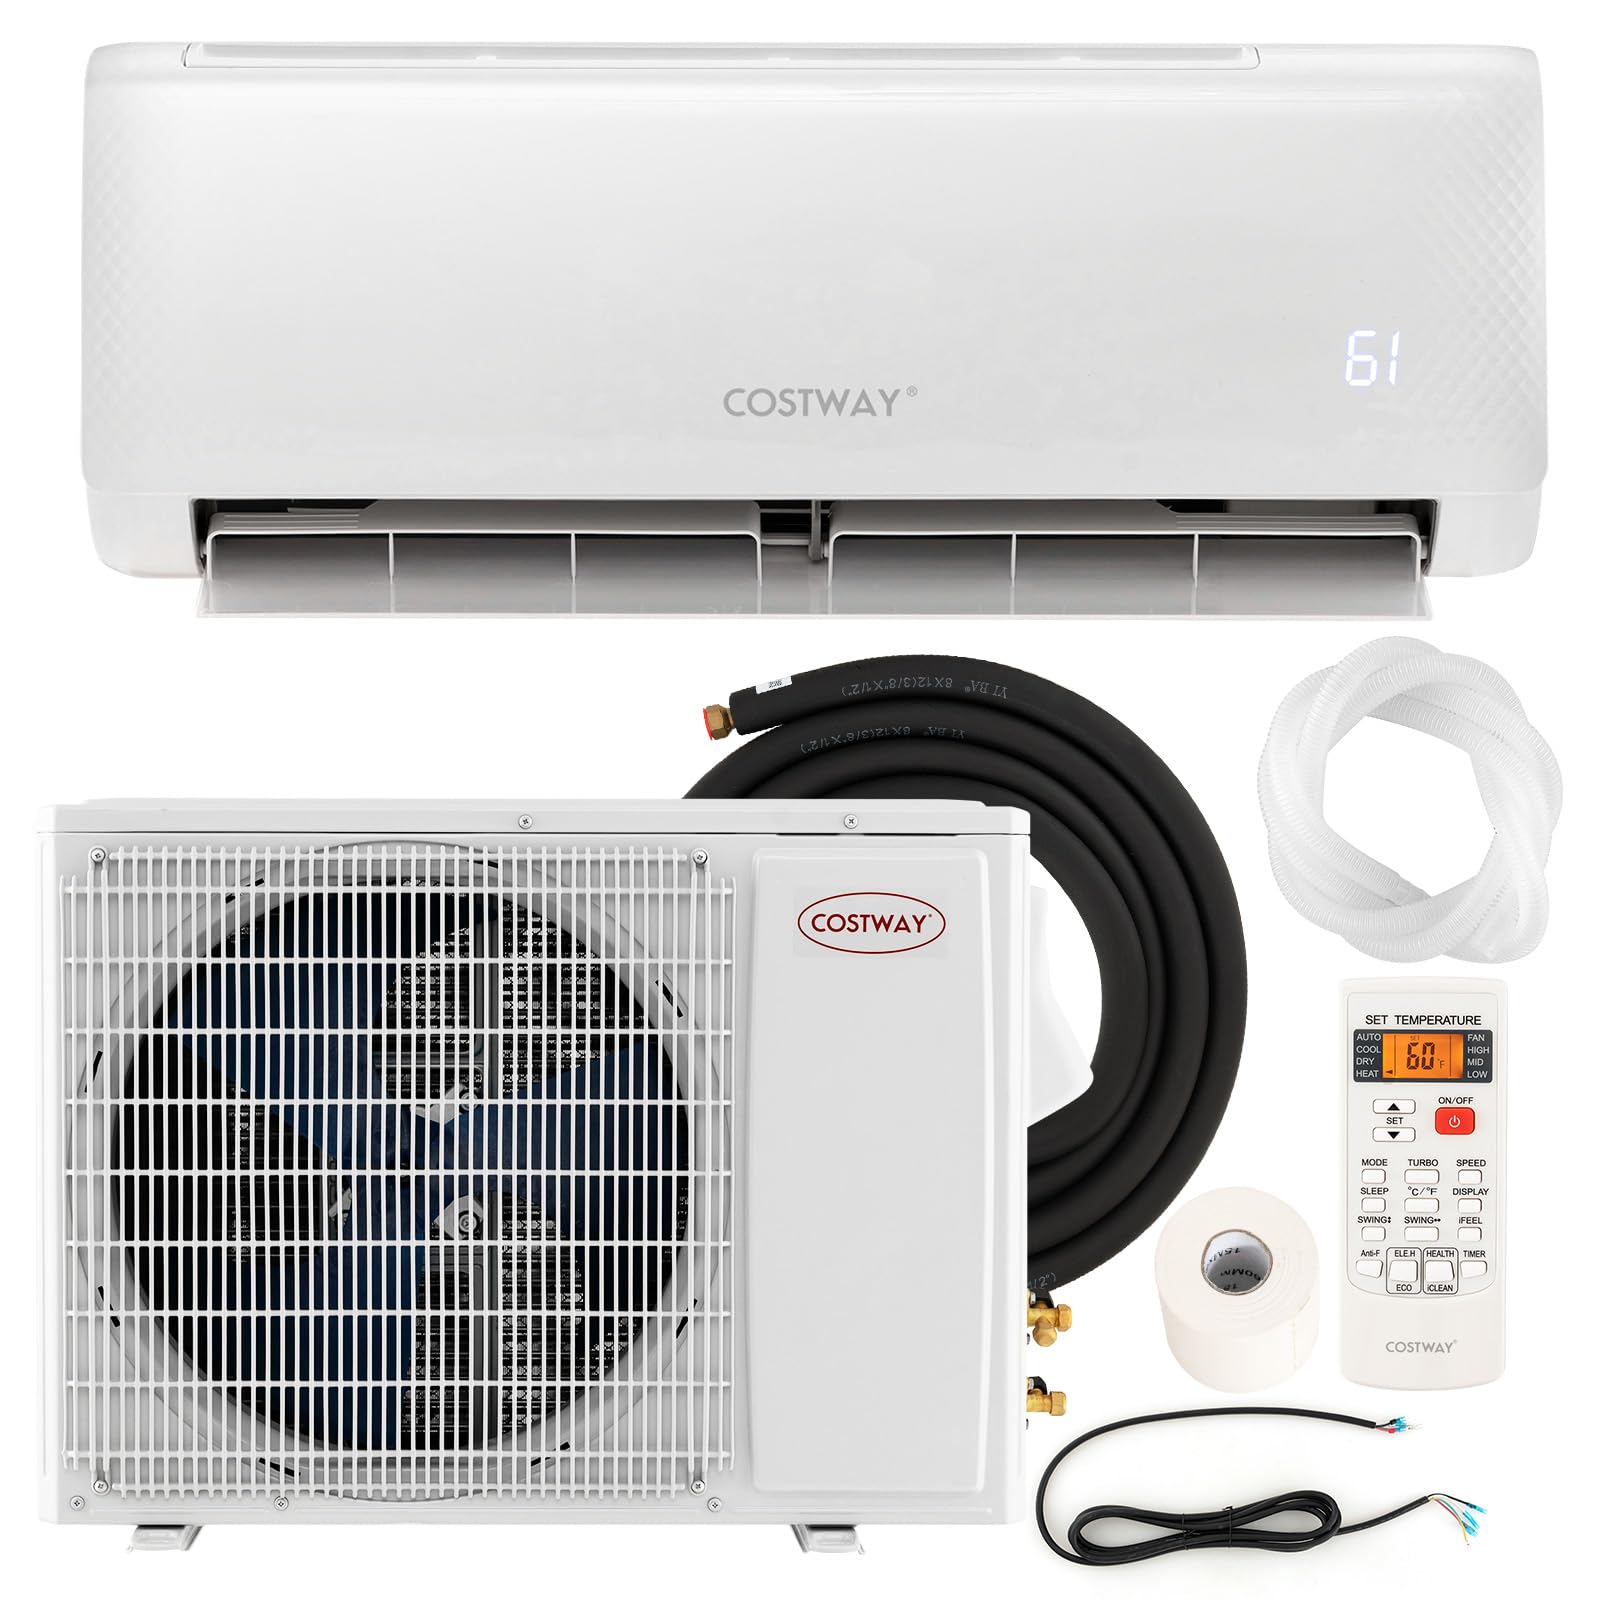
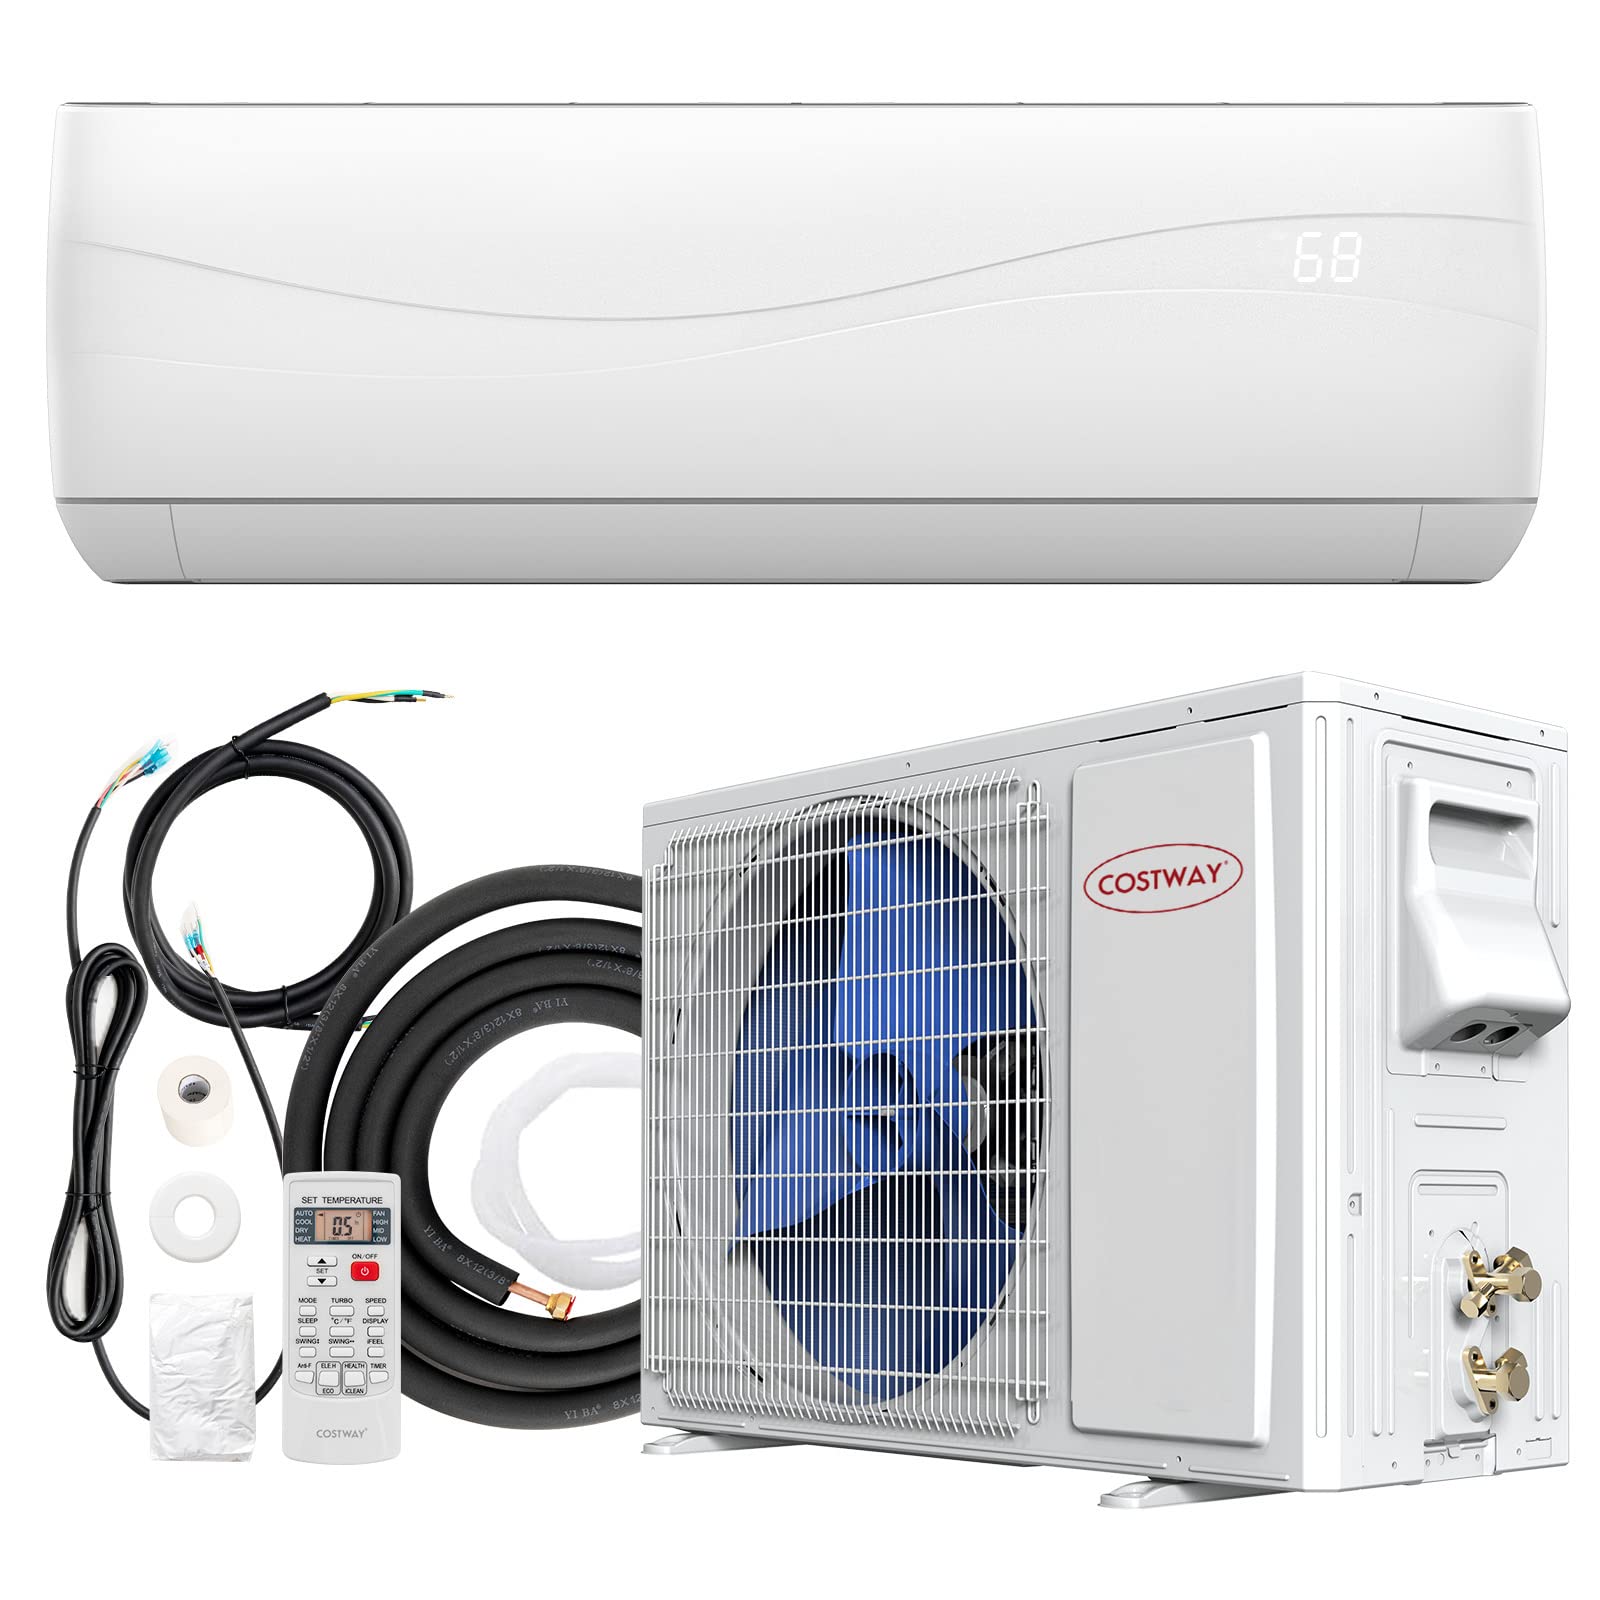
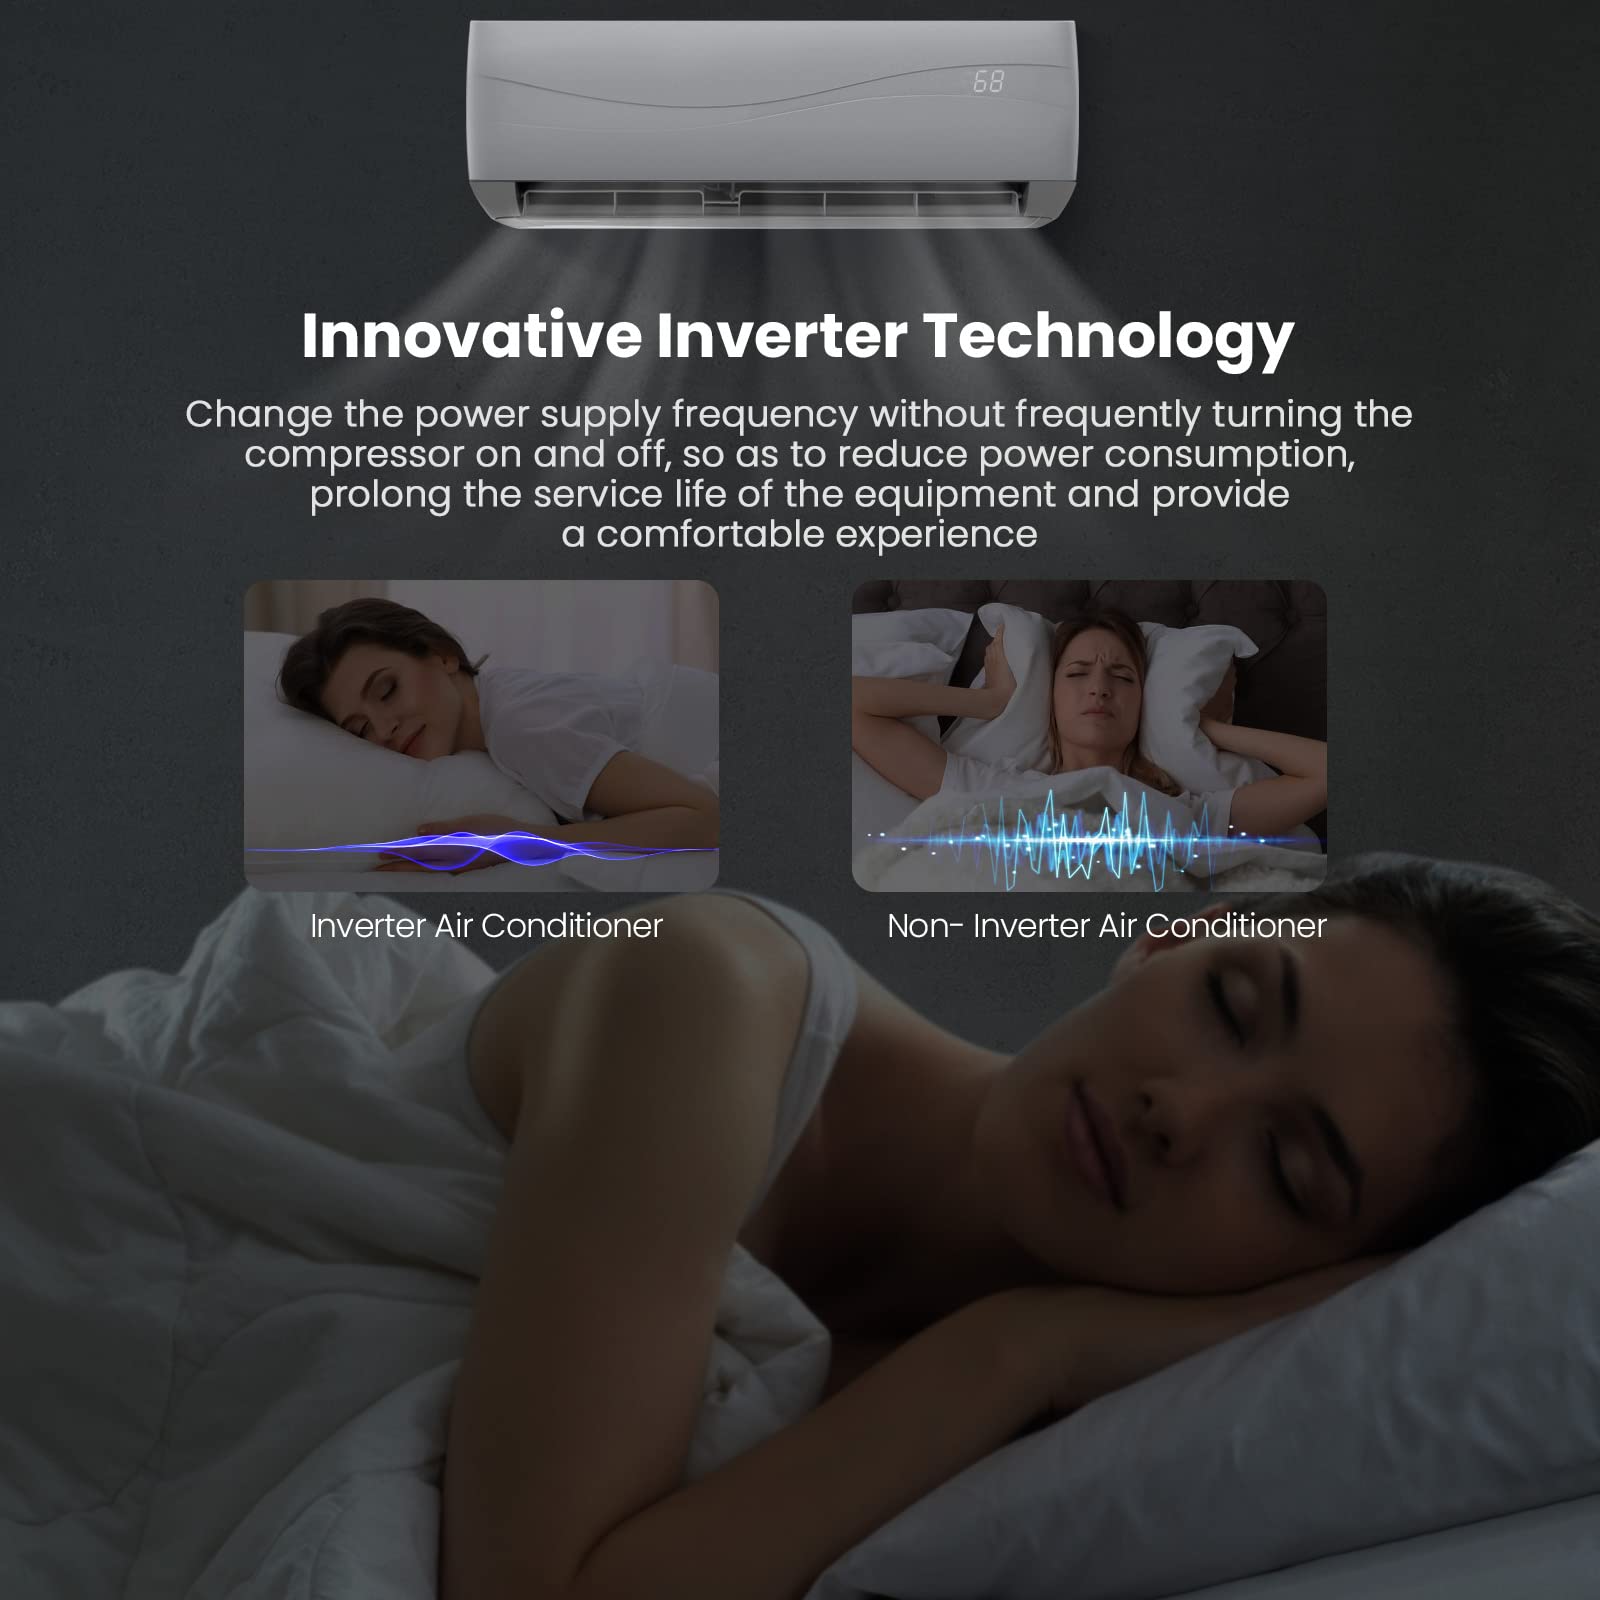
Cleaning a Split System Air Conditioner
Materials Needed:
- Screwdriver
- Vacuum cleaner with a brush attachment
- Soft brush or cloth
- Mild detergent or coil cleaner
- Water
- Spray bottle
- Fin comb (optional)
- Can of compressed air (optional)
Steps:
Turn Off the Power:
- Turn off the power to the air conditioning unit at the breaker box to ensure safety.
Clean or Replace the Indoor Unit's Filter:
- Open the front panel of the indoor unit to access the air filter.
- Remove the filter and wash it with warm water and mild detergent. Rinse thoroughly and let it dry completely before reinstalling.
Clean the Indoor Unit's Coils:
- Use a vacuum cleaner with a brush attachment to remove dust and debris from the evaporator coils.
- Spray the coils with a mixture of mild detergent and water or coil cleaner. Let it sit for 5-10 minutes.
- Gently clean the coils with a soft brush or cloth. Rinse with water if necessary and let dry.
Clean the Outdoor Unit:
- Clear away any debris, leaves, or dirt from around the outdoor unit.
- Remove the protective grill or cover using a screwdriver.
- Use a vacuum cleaner with a brush attachment to remove loose dirt and debris from the condenser coils.
- Spray the coils with the cleaning solution and let it sit. Rinse the coils from the inside out with a garden hose to remove dirt and cleaning solution.
Check the Condensate Drain Line:
- Locate the condensate drain line and ensure it is not clogged. Use a garden hose or a plumber’s snake to clear any blockages.
Reassemble and Test:
- After cleaning and drying everything, reassemble the unit. Turn on the power and test the system to ensure it works correctly.
Cleaning Tips:
Clean Both Units:
- Clean both the indoor and outdoor units for optimal performance.
Protect the Outdoor Unit:
- Make sure to protect the outdoor unit from direct sunlight and debris while also allowing sufficient airflow around it.
Professional Service:
- Consider professional maintenance annually to ensure internal components are functioning correctly and refrigerant levels are adequate.
Use a Fin Comb:
- Use a fin comb to straighten any bent fins on the outdoor unit to ensure optimal airflow.
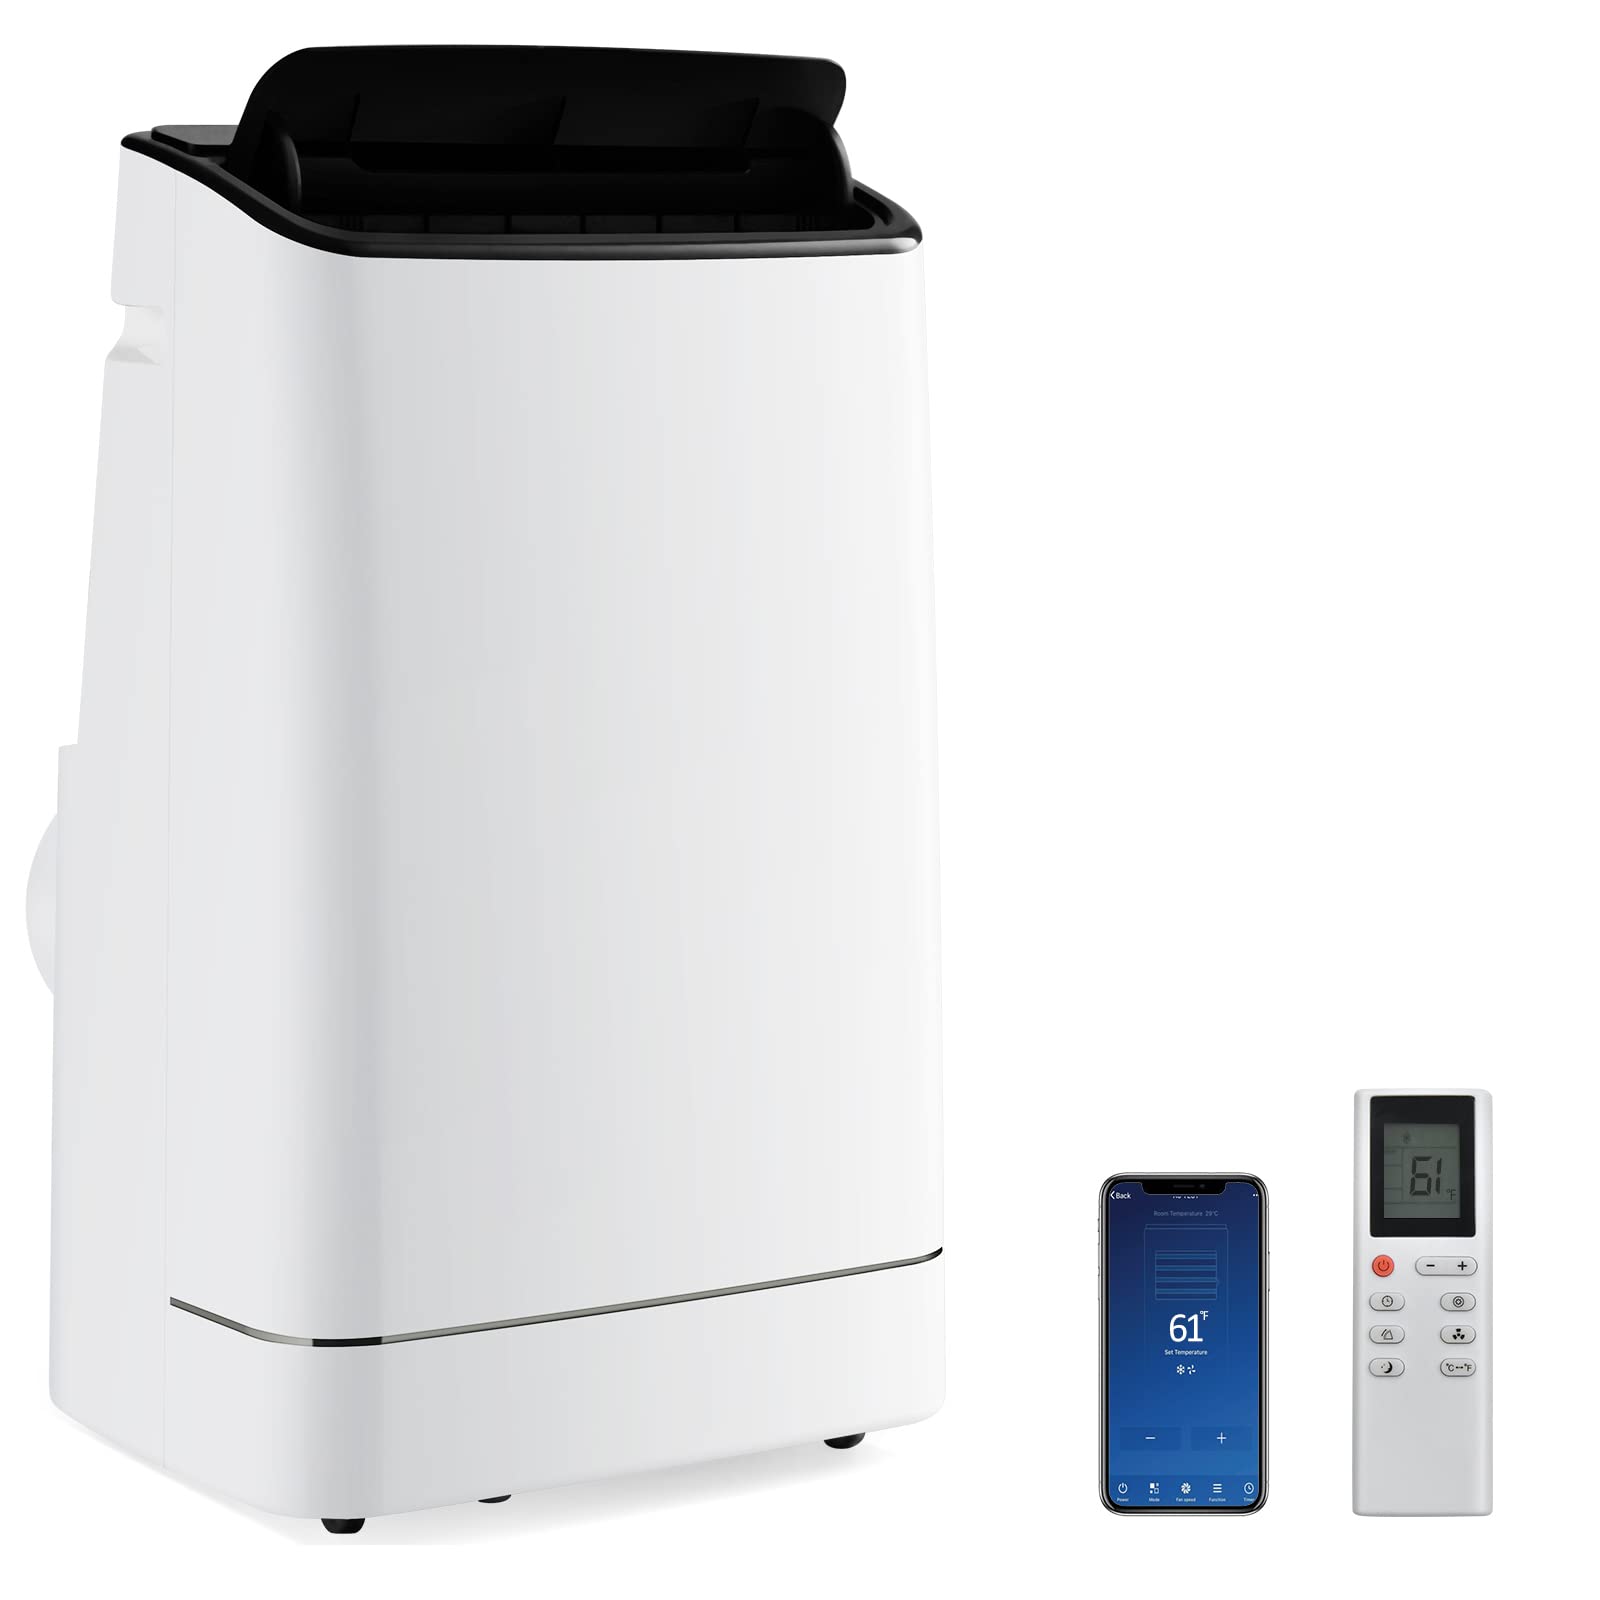
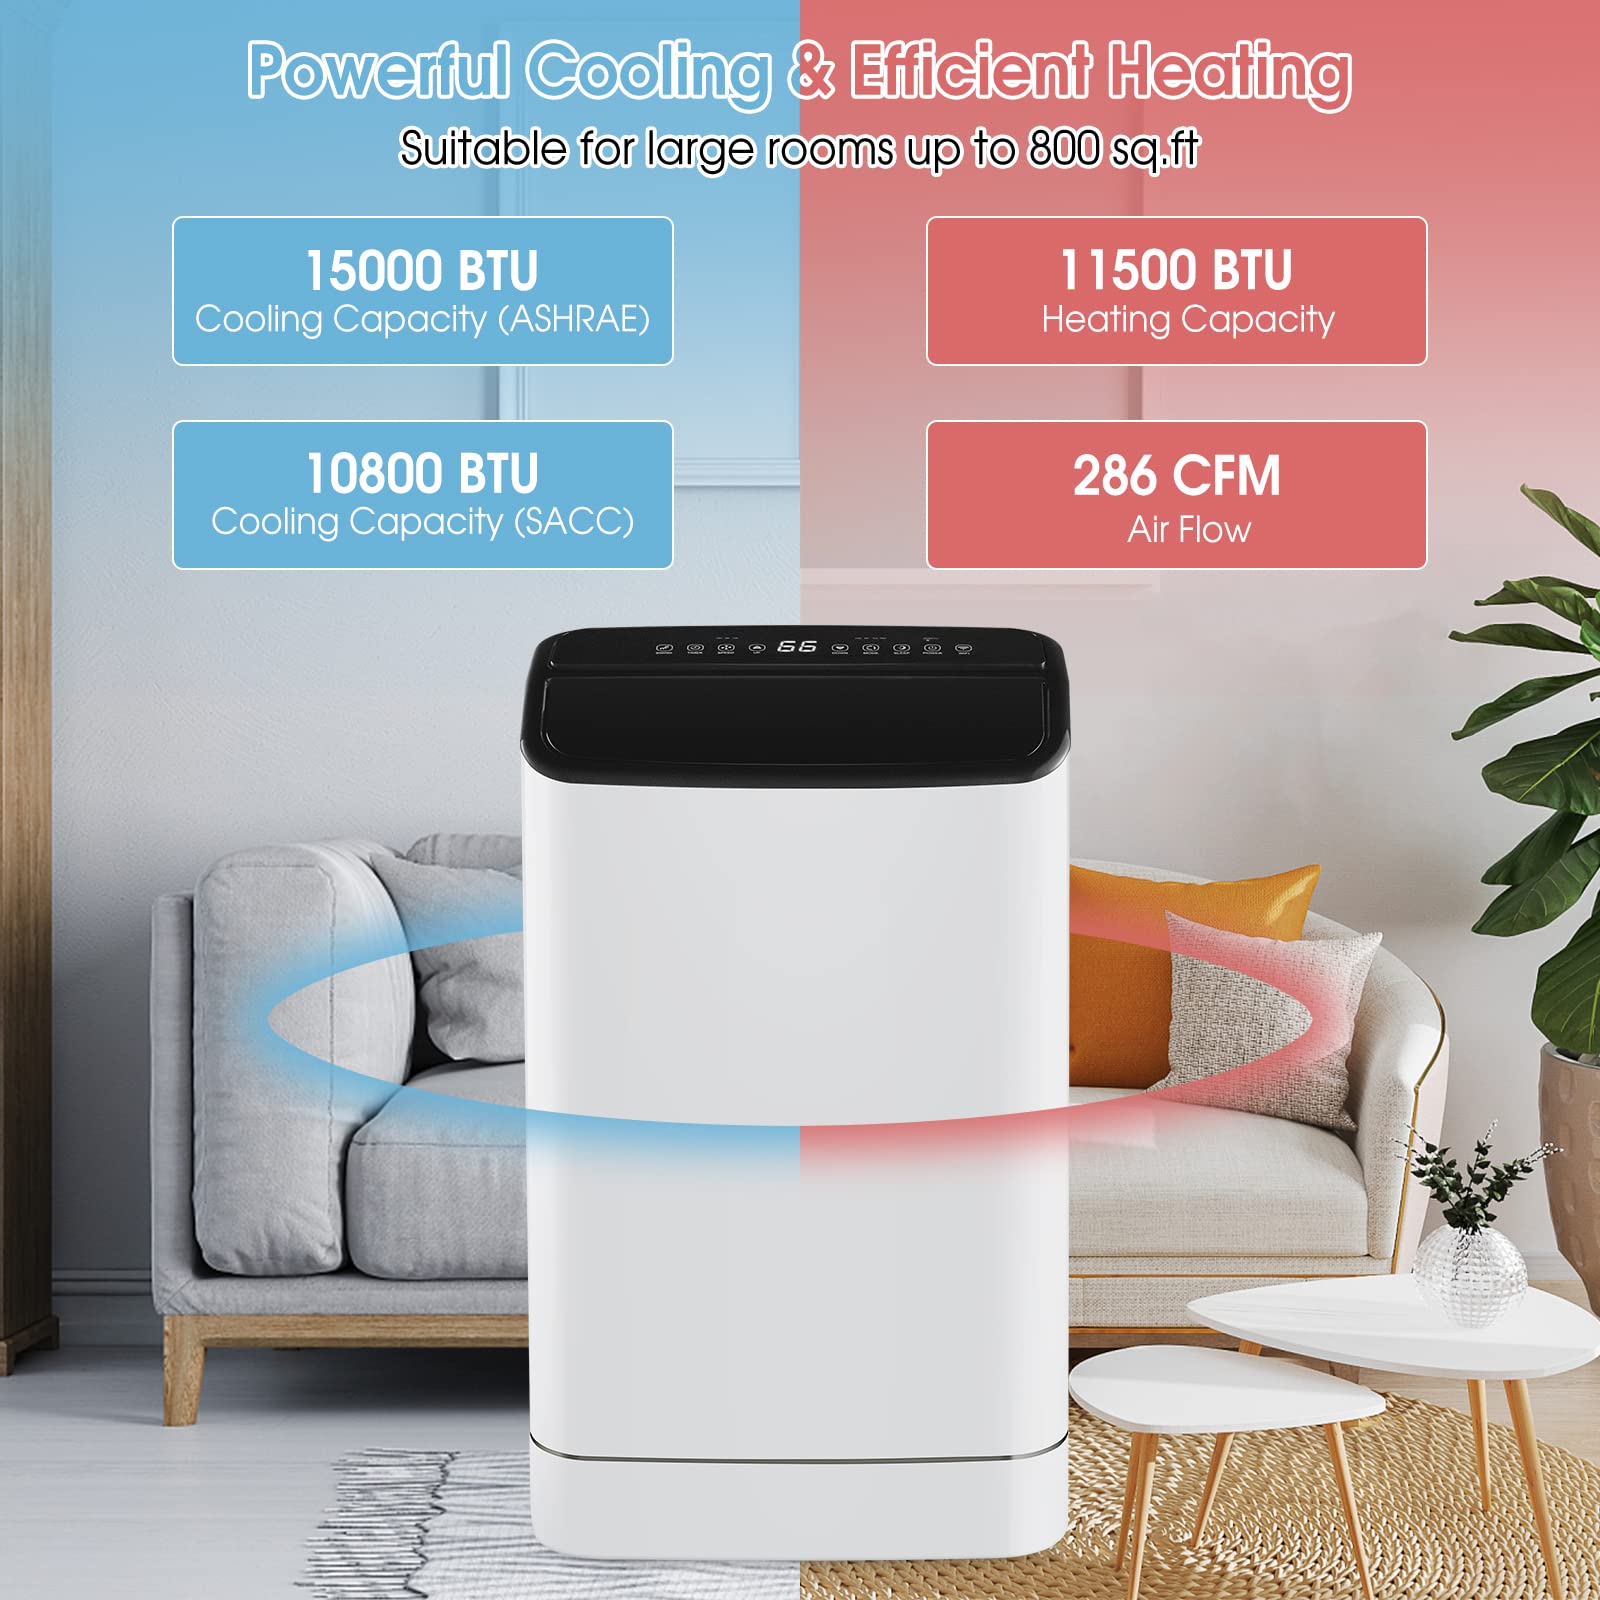
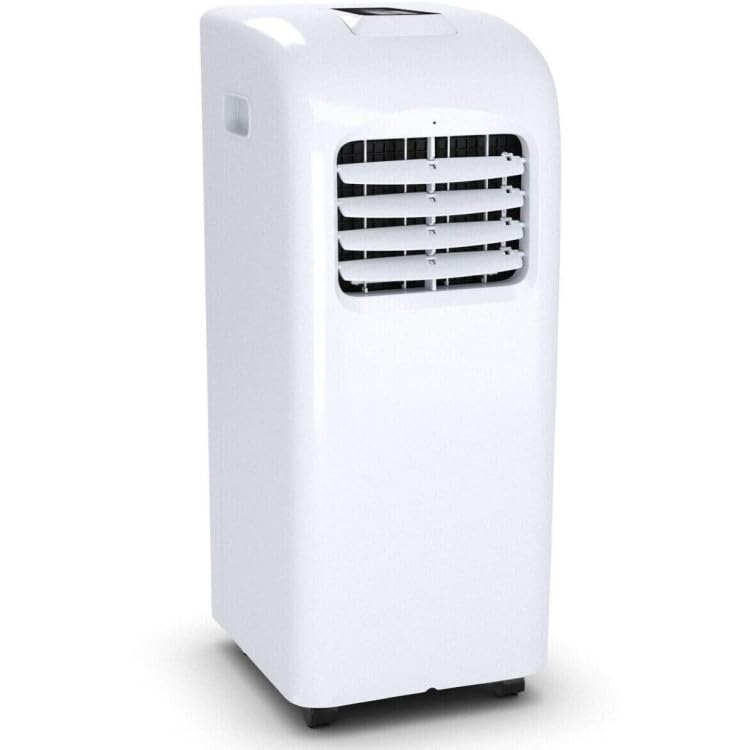
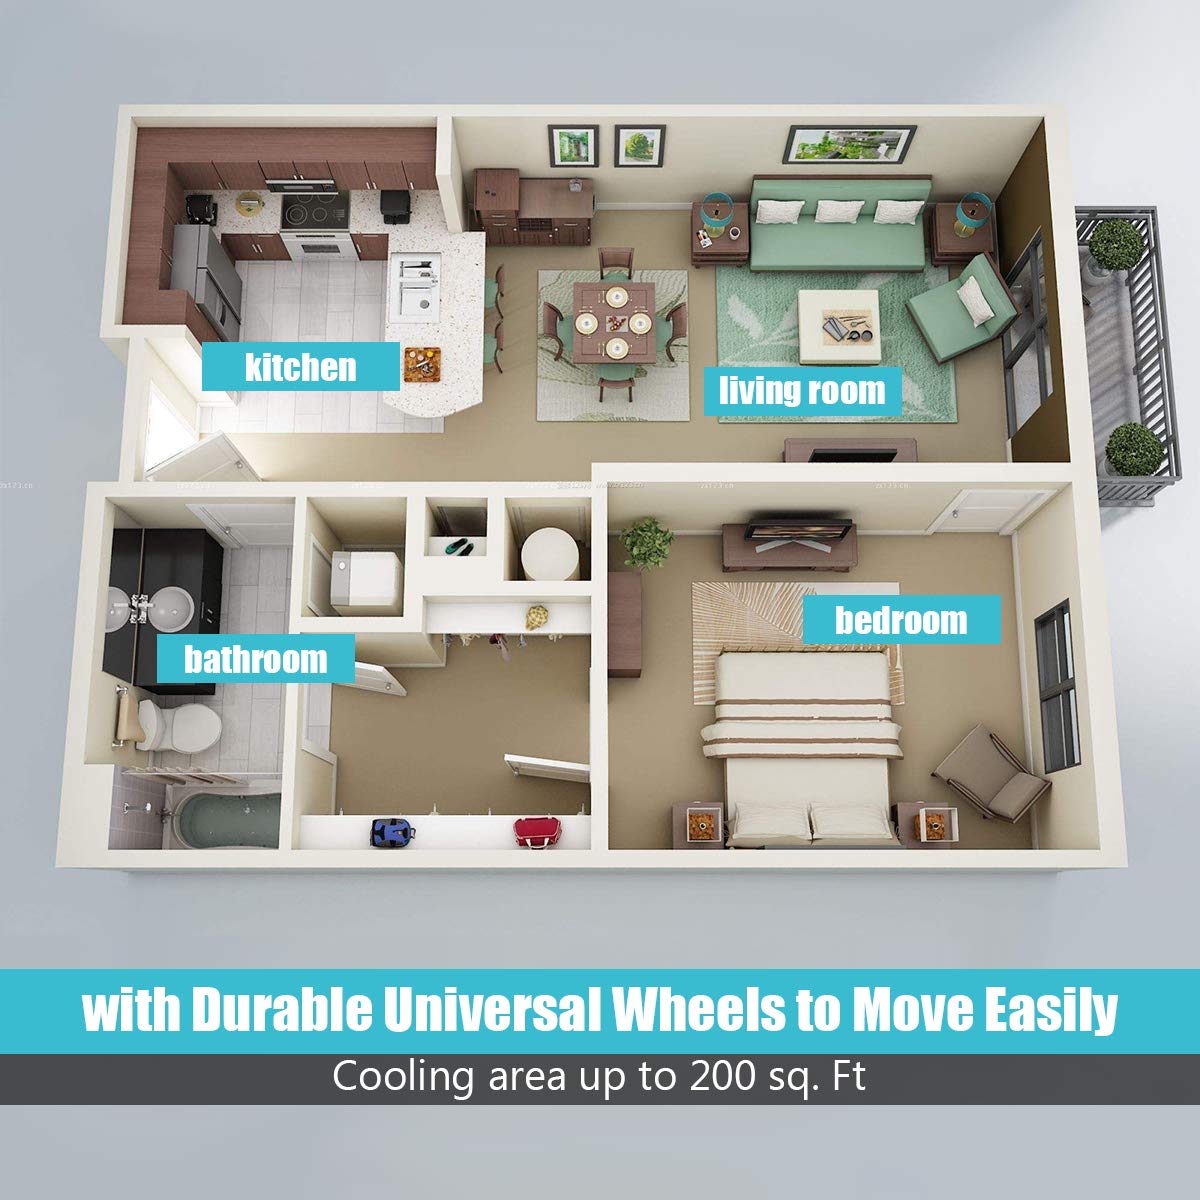
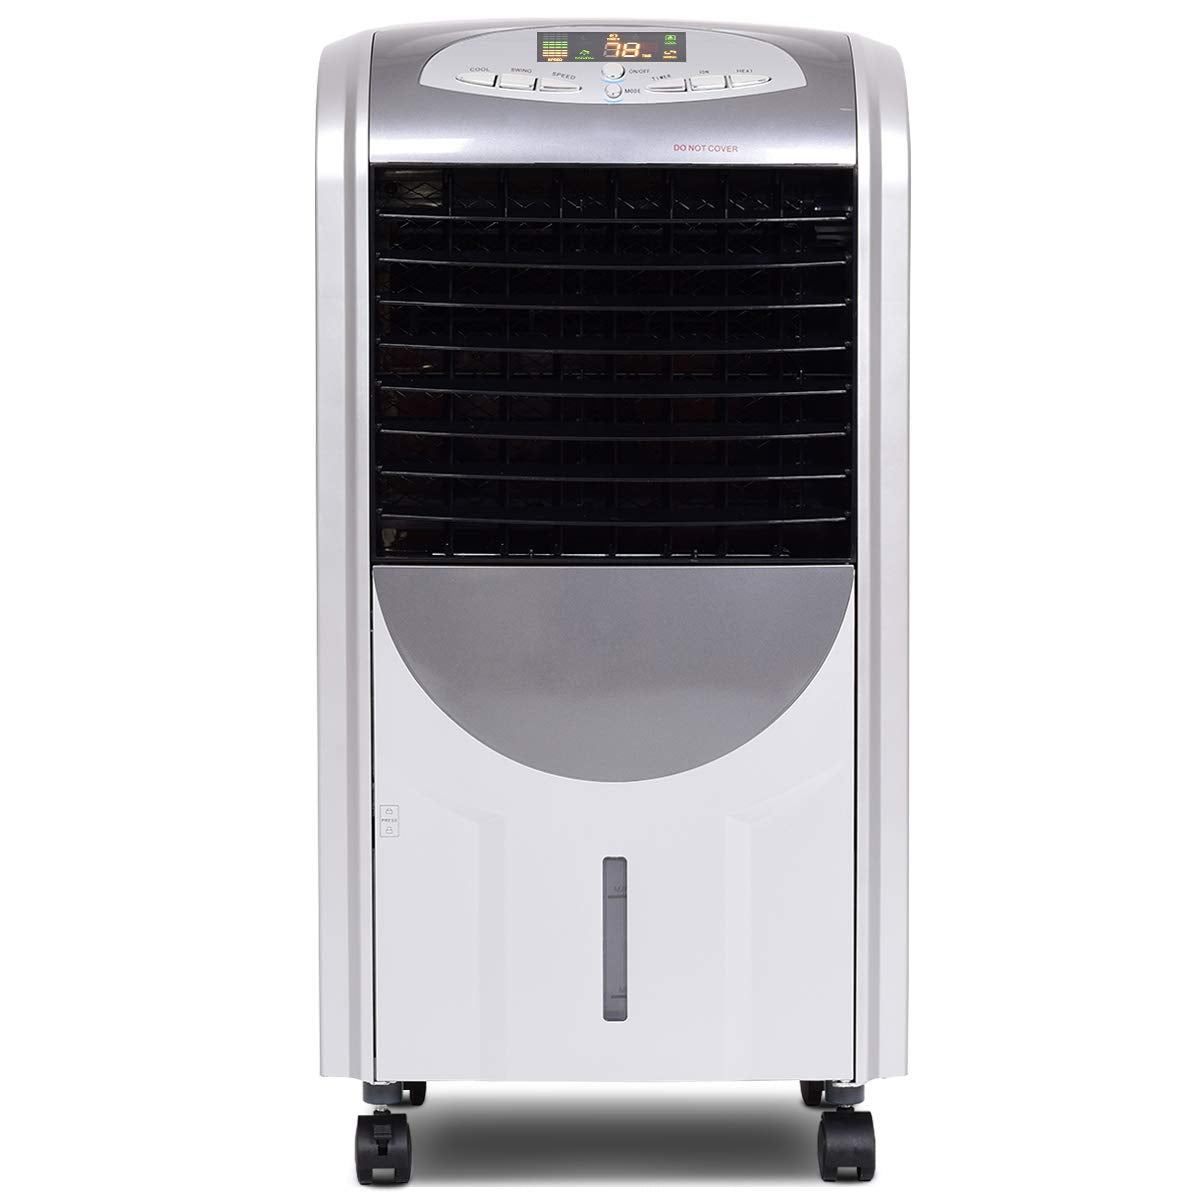
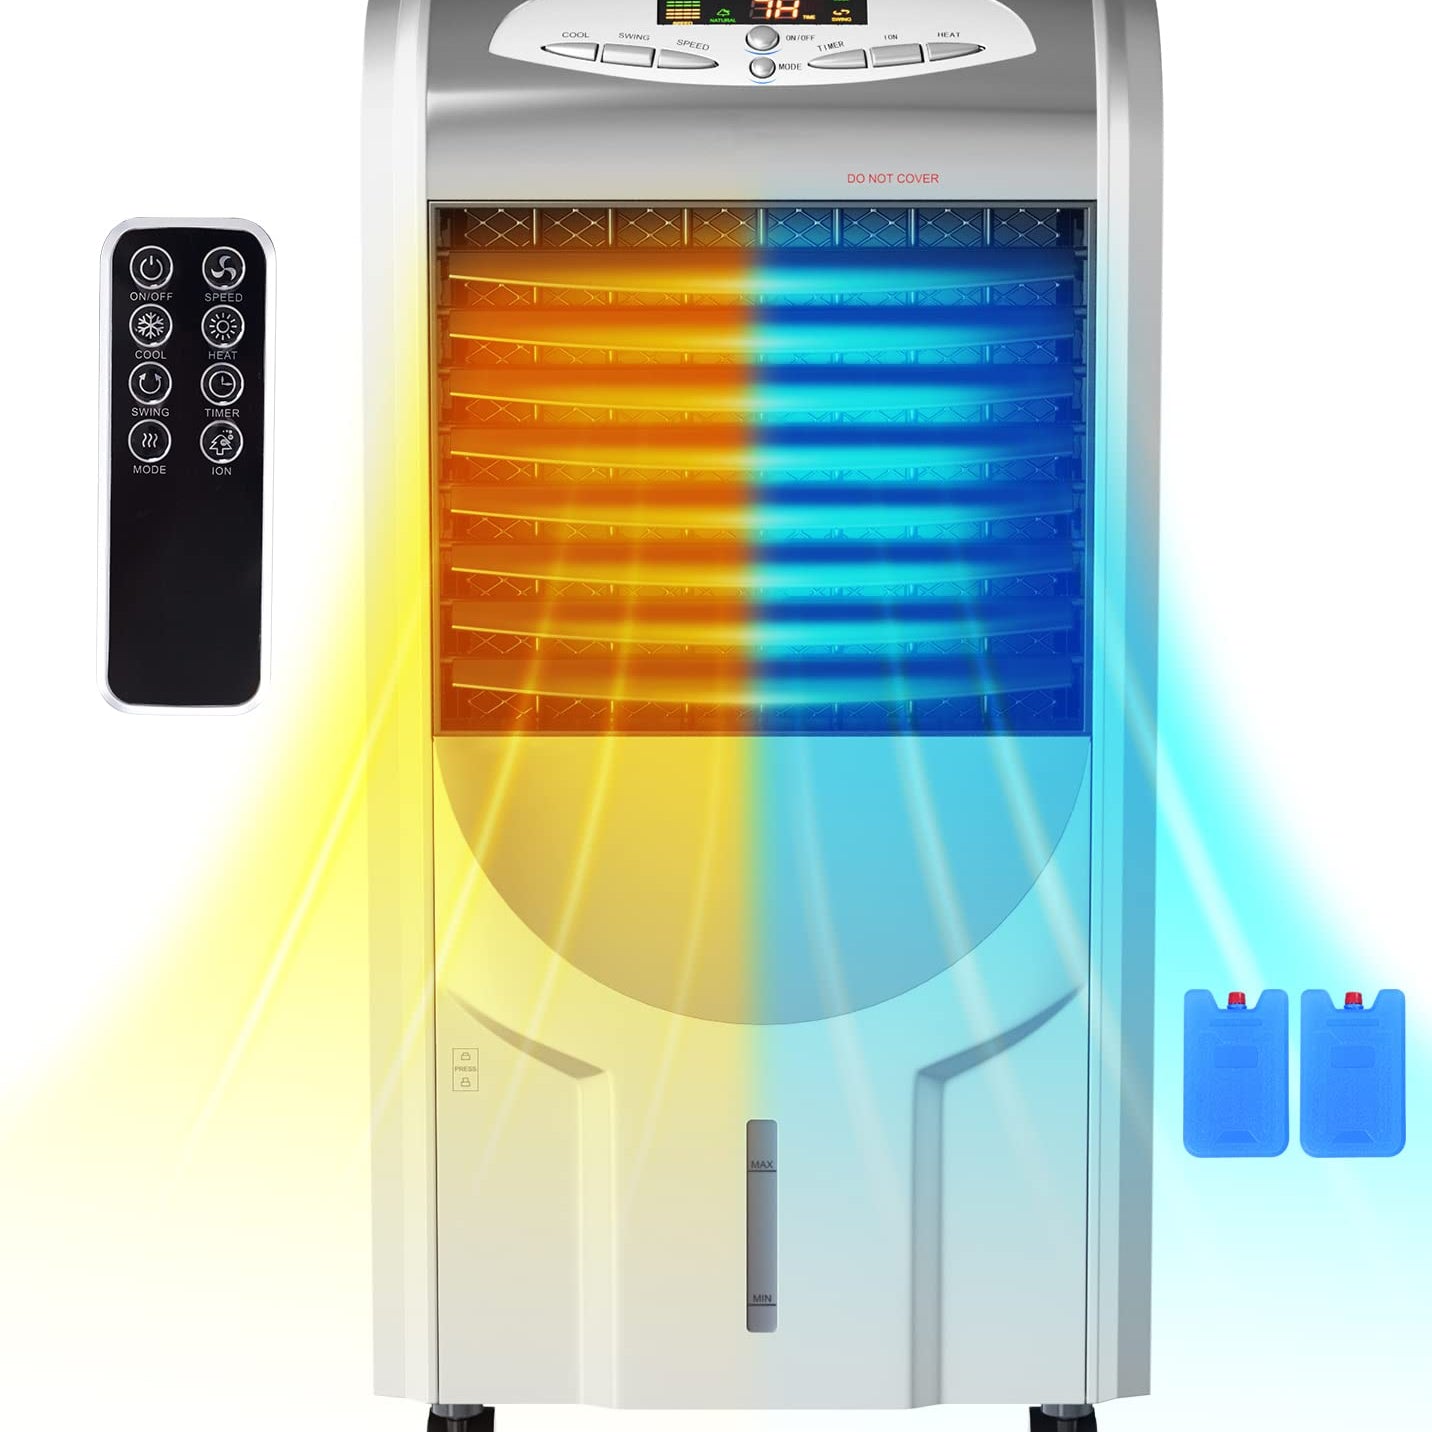
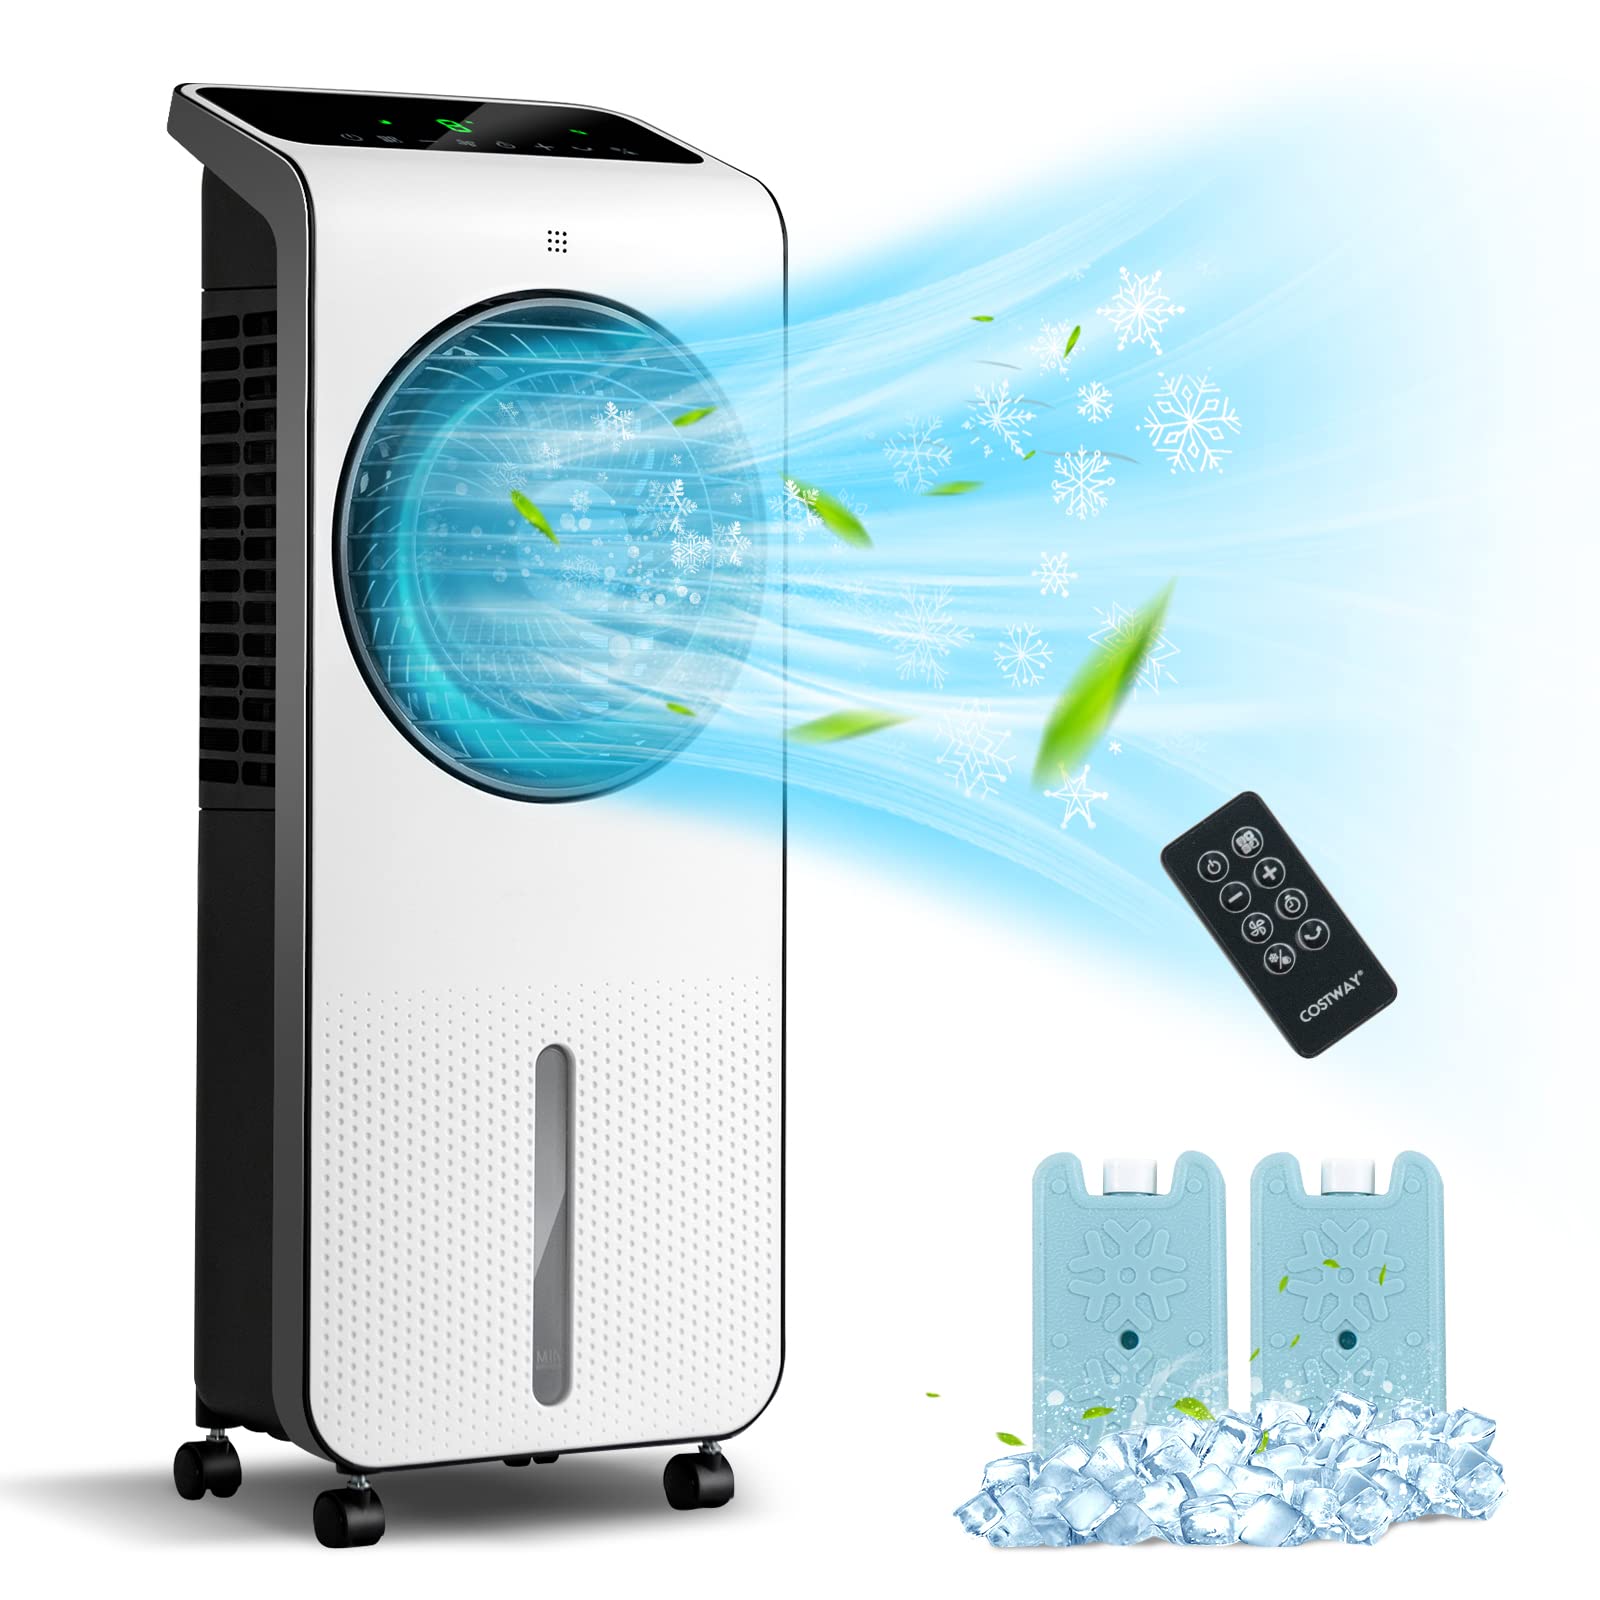
Cleaning a Portable Air Conditioner
Materials Needed:
- Vacuum cleaner with a brush attachment
- Soft brush or cloth
- Mild detergent or coil cleaner
- Water
- Spray bottle
Steps:
Turn Off and Unplug the Unit:
- Make sure to turn off and unplug the air conditioner before starting the cleaning process.
Clean or Replace the Filter:
Remove the filter from the back or side of the unit.
Reusable Filters:
- Wash the filter with warm water and mild detergent. Rinse thoroughly and let it dry completely before reinstalling.
Disposable Filters:
- Replace the filter with a new one if it’s not reusable.
Clean the Coils:
- Remove the rear access panel to expose the evaporator and condenser coils.
- Use a vacuum cleaner with a brush attachment to remove dust and debris from the coils.
- Spray the coils with a mixture of mild detergent and water or coil cleaner. Let it sit for 5-10 minutes.
- Gently clean the coils with a soft brush or cloth. Rinse with water if necessary and let dry.
Empty and Clean the Drain Tank:
- Locate the drain tank or water collection tray and empty it.
- Clean the tank with warm water and mild detergent. Rinse thoroughly and let it dry completely before reinstalling.
Clean the Exterior:
- Wipe down the exterior of the unit with a damp cloth.
Reassemble and Test:
- Once everything is clean and dry, reassemble the unit, plug it in, and turn it on to ensure it’s working properly.
Cleaning Tips
Empty the Water Tank:
- Regularly empty and clean the condensate water tank to prevent mold growth.
Ventilation:
- Make sure you properly connect the exhaust hose and keep it free from obstructions for cool air.
Move Carefully:
- When moving the unit, handle it carefully to avoid damaging internal components.
Check Exhaust Hose:
- Inspect the exhaust hose for any cracks or leaks and replace it if necessary to maintain efficiency.

Follow these steps to keep your air conditioner clean and efficient. This will improve its performance and make it last longer, whether it's a window unit, split system, or portable model.
If you need cleaning instructions for ceiling fans, check the following article to find more!